Winter Beehive Preparation — The Complete Guide: Narrowing the Nest, Food Stores, Temperature, Moisture and Pest Protection (2026)
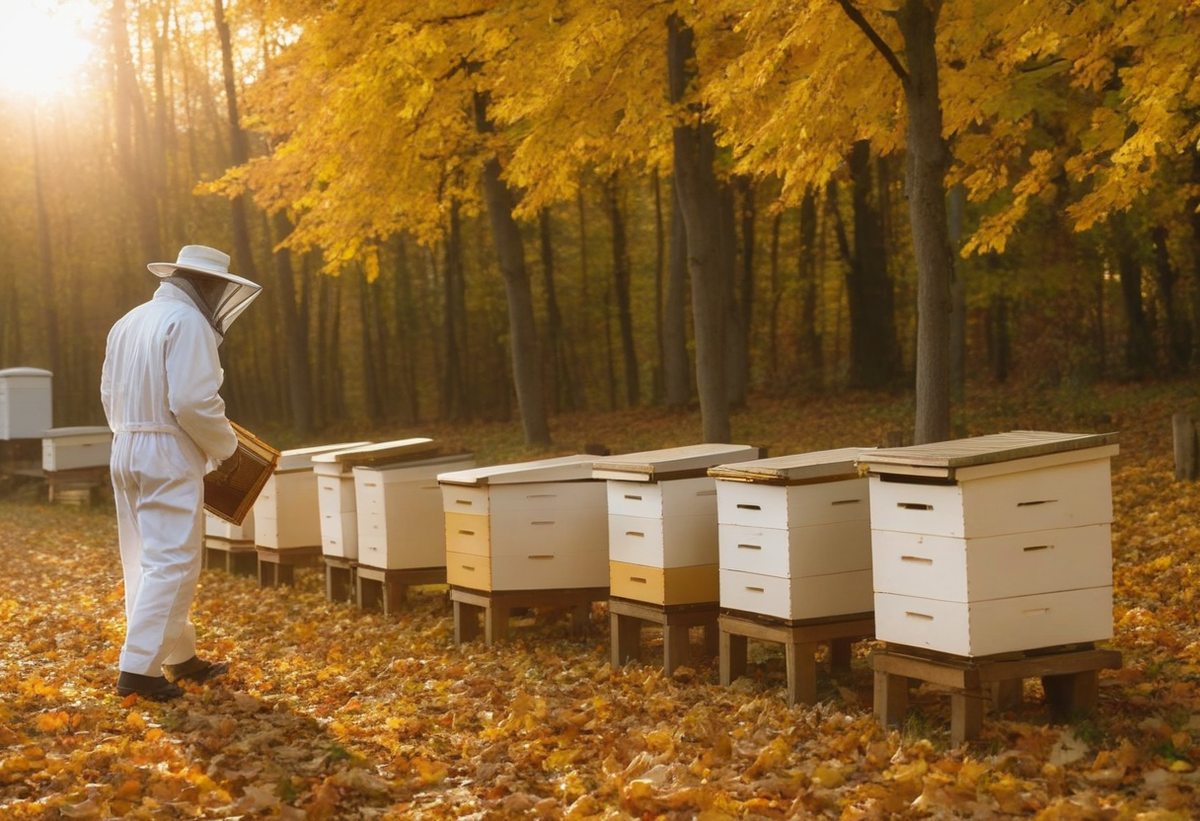
There is a sentence that every winter proves right in thousands of apiaries: bees do not die from cold — they die from lack of preparation. A wild colony in a tree hollow winters without a beekeeper, without wraps and without fondant, and comes out alive in spring, because its hollow is dry, sized exactly for the cluster, and protected from mice. Our job in winter preparation is to reproduce exactly that: not to "heat" the bees, but to give them the right volume, enough food, dry air and an inaccessible entrance. That is the whole philosophy of overwintering on one page — and the tens of thousands of words in this guide are the details that make the difference between a 5% winter loss and 30%.
This is the most complete guide to winter hive preparation we have ever written. We will walk through every element of the process: narrowing the colony and arranging the winter nest, calculating and securing the food stores (and what to do when they run out in January), temperature management and insulation, moisture — the most underrated killer, protection from mice, woodlice, birds and thieves, the physics of the winter cluster and how to protect it through the coldest months, winter inspections without opening the hive, and planning next spring with data. Each section comes with practical rules, concrete numbers, and the honest mistakes we all make.
The guide is written for Bulgarian conditions — a winter from November to March, rarely with sustained frosts below −20°C, but with wet, windy and erratic months that are more treacherous than Siberian cold. It applies across the whole temperate zone: where winters are colder you add insulation and stores; where they are milder — ventilation and moisture control.
What actually kills colonies during winter
Before we move to technical solutions, let us understand the problem. When you open an empty hive in February with a pile of dead bees at the entrance, the cause is almost never "the cold". Winter losses have five classic roots, and they rarely come alone:
- Starvation — not absolute, but positional. A colony dies of starvation ten centimetres from a full honey frame, because in prolonged cold the cluster cannot cross the "honey gap" to the next frame. It also starves when stores simply run out in March, before the first flow.
- Moisture and condensation — bees breathe; one colony evaporates litres of water over a winter. If the cover is cold and water condenses and drips onto the cluster, the bees get wet, chilled and sick with nosema and dysentery. A wet colony at −5°C is worse off than a dry one at −25°C.
- Varroa and viruses — a colony entering winter with a high mite load loses its winter bees one by one. It does not die suddenly; it simply "leaks" between December and February, and spring greets you with a quiet, light hive.
- Mice and other tenants — a mouse settled into the warm hive in October chews combs, disturbs the cluster with its smell and movement, and often forces the colony to scatter and freeze.
- Too much volume — a colony covering 5 frames, left to winter in a double-box hive with 20 frames, can control neither the heat nor the moisture in that volume. Empty space around the cluster works like an ice box.
Everything else in this guide is the system that neutralizes these five killers simultaneously — because they work together: a big nest makes moisture more dangerous, moisture accelerates food consumption, and a starving, wet colony is also more vulnerable to the mites carried in from autumn. Winter preparation is one operation with five faces.
The winter preparation timeline: from September to March
Winterizing is not a single event — it is a cascade in which every step has its window. Here is the map of the whole process, month by month:
- September — varroa treatment against the emerging last brood, autumn feeding with 3:2 syrup, first reduction of strong colonies' nests. Goal: young winter bees entering the cluster clean and with full reserve bodies.
- October — final inspection, end of syrup feeding, final oxalic acid treatment in broodless condition, narrowing and arranging the winter nest, mouse guards on the entrances, upper ventilation, warm cover, optionally — wraps on the boxes. Goal: by the end of the month the hive is a closed, finished system.
- November — last external corrections: tilt the hives forward, wind protection, cleaning dead bees and leaves off the entrances on warm days, mowing the site. From this point the hive is not opened.
- December–January — winter monitoring without opening: weight (lifting the rear), sound, tracks in the snow. If needed — fondant on a short warm day.
- February–March — the most critical period: stores run out exactly when the colony starts feeding the first spring brood. Fondant checks every 2–3 weeks; on warm afternoons — spring stimulation and the first short inspection above 12°C.
Notice the logic: everything active is done by the end of October. From November to March the beekeeper no longer manages the colony — he only monitors and touches. The later in autumn you postpone decisions, the fewer options remain: whatever is not done before the first lasting frost is done at a loss.

Flow Bee Hive — Automatic Honey Harvester
- ✅ Drains honey at the turn of a handle — no smoker needed
- ✅ Harvest in 20 minutes without disturbing the bees
- ✅ Food-safe FDA-approved plastic — bees stay calm
Premium cedar Flow Hive with automatic drainage.
View on ApiaryPro →1. Narrowing the colony: the engineering of the winter nest
Narrowing the nest (also called reduction) is the first and most important operation of winter preparation, because it solves three problems at once: the volume the colony must heat, access to food, and moisture control. A colony covering 7 frames must not winter in a volume for 20 frames — empty frames are not a "reserve", they are cooling fins around the cluster.
When exactly to narrow
The right moment is in October, after autumn feeding has finished and the final varroa treatment is done — by then you know the real strength of the colony and its real stores. Work at temperatures above 12–14°C, in the middle of the day, quickly and with minimal smoke. If the day is below 10°C — do not open; better to wait a week than to tear the colony's thermal envelope just before the frosts.
The full-corridor rule
The winter nest is arranged by one simple scheme the bees "understand" instinctively:
- Measure the strength — the number of frames fully covered with bees. That is the winter size: a colony of 6 frames of bees winters on 6–7 frames; of 9 — on 9–10.
- Leave as many frames as the bees cover, plus one or two — no more. All empty, half-empty and old dark frames come out of the hive; they only collect moisture and harbour pathogens.
- Center — the frames with the best brood and food, on both sides — full honey frames. Honey around the cluster works as side insulation and food within reach; full frames are the best winter wall.
- Bee bread — immediately next to the honey, adjacent to the nest: in February the colony starts feeding brood, and without a protein store the first spring generation is doomed.
- The division board must close the empty space after the last frame — and behind it, in the empty part of the box, place insulating material (cushion, shavings, straw). The empty box is never left "for ventilation" — a popular but wrong practice.
What to do with weak colonies
This is the moment of autumn's hardest decision. A colony under 4–5 frames of bees winters poorly even ideally arranged: it cannot generate enough heat in hard frosts, consumes food disproportionately and moves with difficulty across the frames. For weak colonies you have three paths:
- Uniting — most often the right call. Two weak colonies winter better as one medium one than as two dead ones. Uniting is done with the newspaper method (a paper barrier chewed through in 1–2 days), and the better queen is always kept.
- Maximum narrowing — if you still let the weak one winter alone: 4–5 frames, full honey frames on both sides, division board, extra insulation and a warm cover; and consciously accepting the risk.
- Transfer to a smaller box — some beekeepers winter weak colonies in shallow or single boxes where the volume matches the strength. The principle is one: the volume must be filled.
Practical rule for everyone: when you close the winter hive, you should feel that if you were a bee, this would be a cosy winter house — a warm blanket around the cluster, the pantry against the wall, and no empty rooms.
For the full monthly plan of October work, within which narrowing falls, see our article on the main beekeeping activities in October — every step there is laid out with a week-by-week calendar.
2. Food stores: how much, how, and why exactly that much
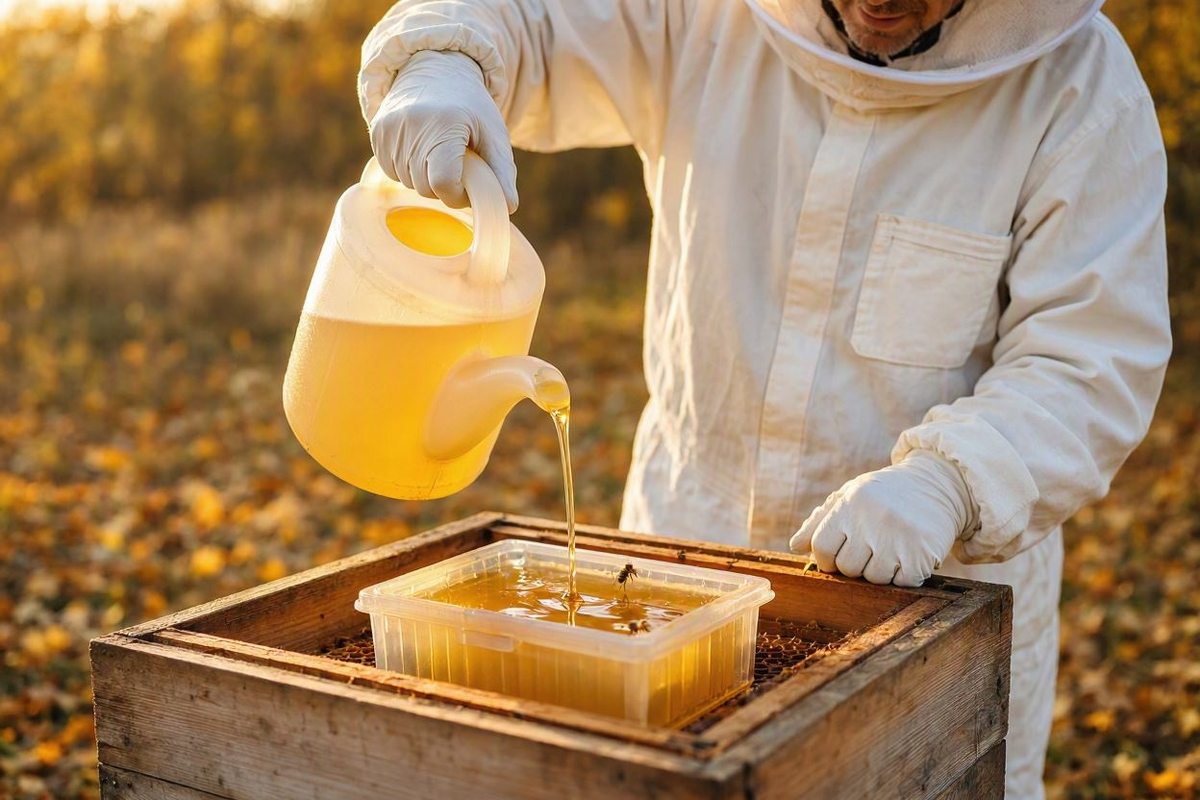
The colony spends 4–6 months in winter and consumes between 10 and 20 kilograms of food in that time — not to idle, but to keep the cluster between 20 and 35°C, and from February — to feed the first brood. The winter store is not a luxury; it is the fuel of the whole system.
How much exactly: the calculation
Work with two numbers: 15–18 kg for a normal colony in a single or double box on 8–10 winter frames, and 20–25 kg for strong double-box colonies. The approximate monthly distribution:
- November — 0.5–1 kg (compact cluster, minimal consumption);
- December–January — 1–1.5 kg per month plus heat losses in wind and moisture;
- February — 2–3 kg: brood starts and consumption jumps — this is the month when "average" colonies die;
- March — 3–4 kg until the first spring flow.
The store is not just "honey in the hive" — where it sits matters. When arranging the nest the goal is: above the cluster — full honey frames (the cluster moves upward-diagonally into the honey and never starves), on both sides — full frames, bee bread — adjacent. A colony whose honey is below the cluster winters harder, because in cold bees do not move downward.
Autumn feeding: 3:2 syrup and its deadline
If the October count shows a shortfall against 15–18 kg, feed 3:2 syrup (3 kg sugar to 2 litres of water) — bees evaporate less water and cap it faster. Use bucket feeders with anti-drowning mesh or frame feeders, give 2–3 litres per feeding, no more — a large volume in one night floods the nest and pushes the colony toward dysentery.
The syrup deadline is thermal, not calendar-based: bees actively take up and process syrup at day temperatures above 10–12°C. After mid-October the syrup starts standing and fermenting — and then feeding switches to solid. Any fermented food in the winter nest is an invitation to winter dysentery and nosema.
And remember the honest arithmetic: bees use syrup at about 90% efficiency — to add 6 kg of stores give about 6.5–7 kg of sugar. For ready-made solutions see beekeeping feeder buckets on Amazon — a cheap purchase that saves dozens of drowned winter bees.
Honey versus sugar: what winters better
The ideal winter store is at least half real honey, the rest — processed sugar syrup. The reason is biochemical: honey contains not just sugars but minerals, enzymes and traces of pollen that bees use to maintain their gut environment; refined sugar is an "empty calorie" and colonies on pure sugar winter harder, especially through long, wet winters. So do not take every last honey frame to the extractor in summer — "buying winter with honey" is cheaper than buying it with dead colonies.
3. No food: what to do when it is already late
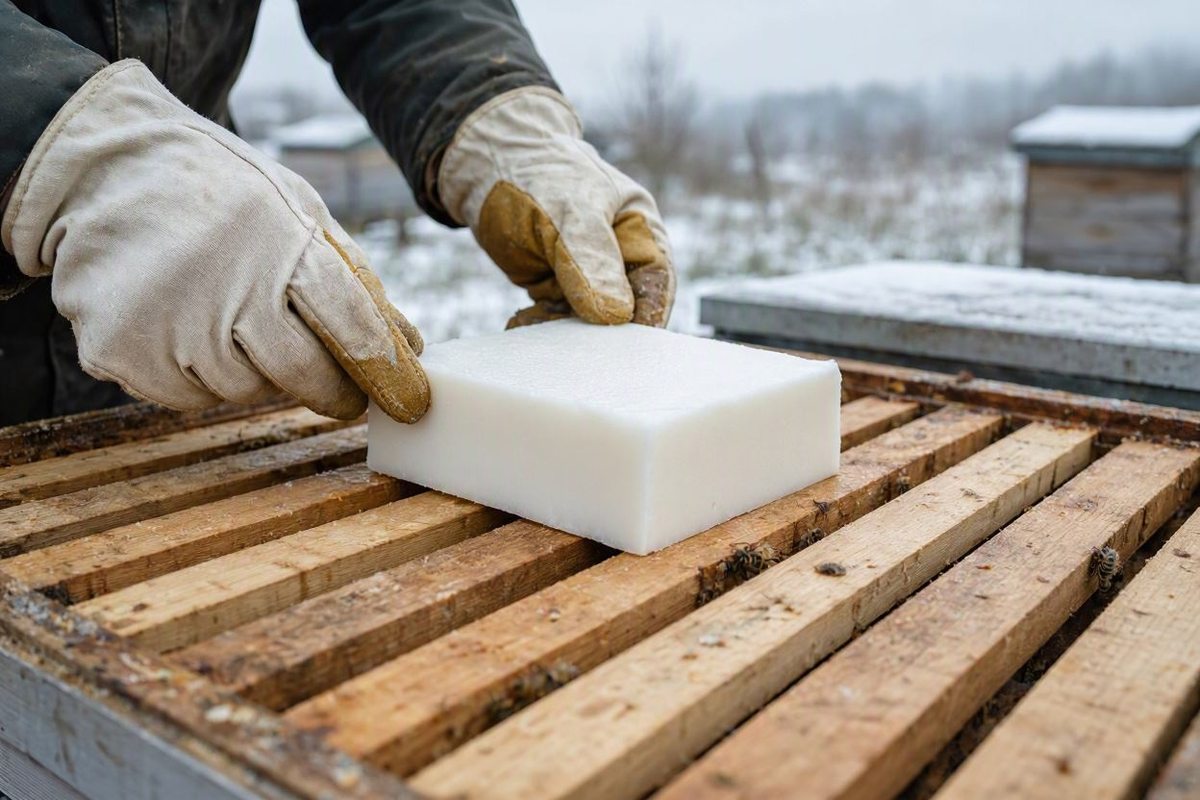
This section is for the moment when it is January, you lift the rear of the hive and it comes up empty-light. First — no panic: the cluster is a living system and with proper intervention it can survive even advanced starvation. Second — no syrup: at winter temperatures liquid sugar syrup is more dangerous than useful (bees cannot process it and it ferments in their gut). The only winter emergency food is solid.
Fondant: the bees' winter bread
Fondant is a sugar mass with very little water that bees consume directly, without processing. It is made from sugar and water at roughly 4:1, heated to about 115°C and stirred until it whitens and sets — or bought ready-made in slabs. It is placed directly above the cluster: lift the inner cover on one side only (at temperatures above 5–8°C, quickly), set the slab on the top bars, close. The bees reach it without breaking the cluster.
- Sugar dough (fondant with honey) — an alternative some beekeepers make without boiling: icing sugar + a little honey kneaded into a dough. Taken up more slowly, but it works in an emergency.
- Candy board — a flat sugar slab cast to the size of the whole cover. Placed once at the start of winter, it covers the entire food question until March — an American solution gaining popularity in Europe too.
- Sugar bricks over the top bars — the old masters' simple emergency: a frame of hardened sugar above the cluster, edged with a cardboard strip.
Ready-made slabs and fondants can be found in winter bee fondant and candy boards on Amazon — keep one in reserve, because starvation always arrives in the coldest week.
How much and how often
One fondant slab of 1–1.5 kg covers a colony for 3–4 weeks of cold. Check every 2–3 weeks through the winter: a gentle lift of the rear of the hive tells you everything — heavy: leave it alone; light: time for fondant. The two critical moments are late January and late February — the second is more dangerous, because it coincides with the start of brood: February starvation kills not individual bees but the whole colony, queen included.
Positional starvation: food exists, but it is unreachable
A separate and treacherous case: a colony found dead from starvation on a comb five centimetres from a full honey frame. In prolonged cold the cluster moves across the frames only where bees stay covered — it cannot "jump" a cold gap. That is why, when narrowing, you never leave food on one side only: honey must surround the cluster in front, behind and especially above. If a winter check reveals such a picture — emergency fondant directly on the cluster's last position; it is the only reachable food in the cold.
For the first spring feedings in detail, see our guide on spring beehive feeding — March starvation obeys exactly the opposite rules: there, liquid stimulating syrup is already useful.
4. Temperature: insulation in moderation
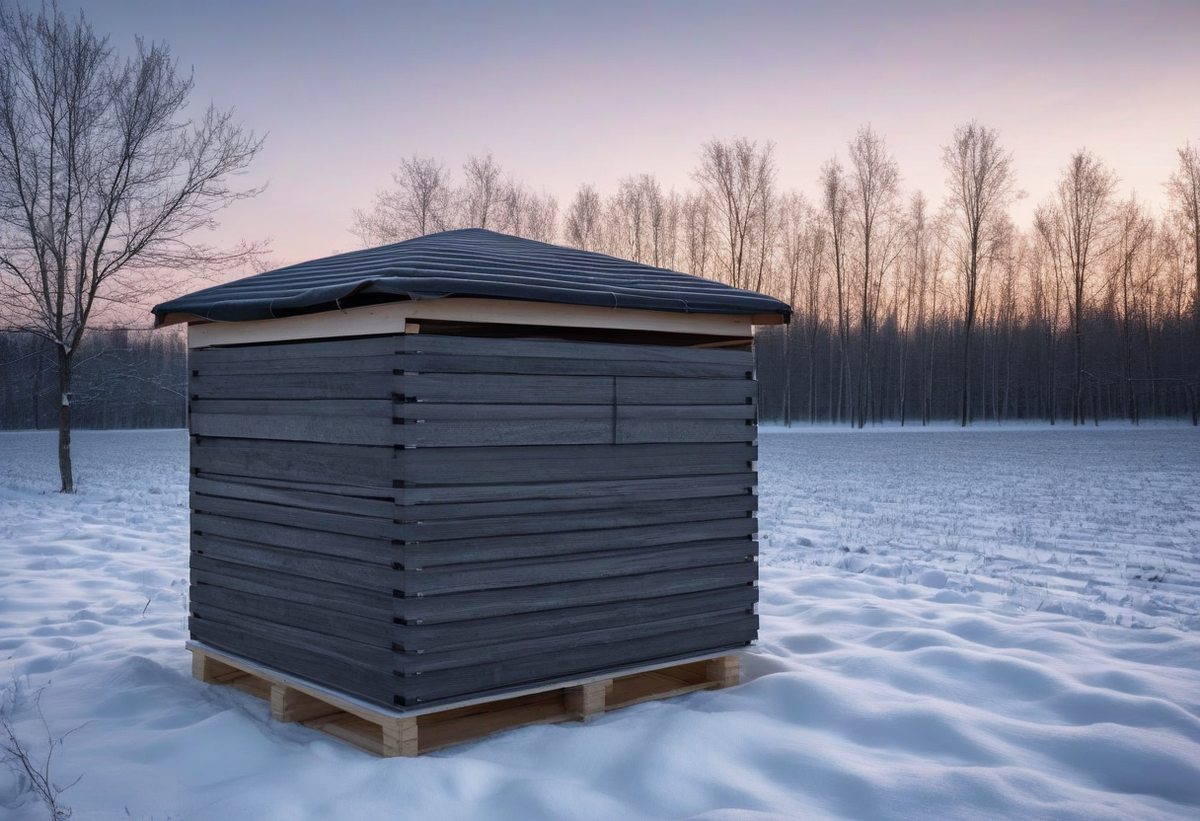
Start with the most common misunderstanding: bees do not need you to keep them warm. The cluster is a biological stove — inside it, in a proper winter, the temperature is 20–25°C, and in the brood zone from February — up to 35°C. Bees produce this heat themselves from the carbohydrates in honey. The role of insulation is different:
- It softens temperature swings — every cold→warm→cold cycle forces the cluster to expand and contract, which costs food and young bodies;
- It keeps the cover warm — a cold cover is a magnet for condensation, and condensation is killer number one (next section);
- It blocks the wind — wind strips heat out of every seam and entrance.
What to insulate and with what
Ordered by effectiveness per unit of effort:
- Warm cover (mandatory) — 3–5 cm of insulating material above the inner cover: shavings in cloth, old wool cardboards, polystyrene with a vent hole. Highest effect of the whole list.
- Upper insulating cushion — the hygroscopic version: a bag of wood shavings, straw or peat above the frames. Works as both insulation and moisture absorber (see the moisture section).
- Box wraps (optional) — tar paper, felt wraps, straw mats or purpose-made winter wraps. Useful in northern, high and windy locations; often unnecessary in mild valleys. Never block the entrance with the wrap and never wrap the bottom — you would trap moisture.
- Insulation behind the division board — the cheap and effective move from the narrowing section: fill the empty space.
For ready-made wraps and insulated covers see winter hive wraps on Amazon. Wood, by the way, is not a bad insulator — 22 mm of timber holds more heat than forum wisdom claims; the problem is never the "thin wall", but the cold cover and moving air.
The overheating syndrome
Excessive insulation backfires: a hive wrapped hermetically on all sides turns into a greenhouse on sunny February days — the cluster spreads, brood starts too early, food consumption explodes exactly when stores are ending, and the colony enters March with oversized brood and an empty pantry. So: warm on top, breathing walls, free entrance — not the reverse.
Stands, tilt and wind
Three refinements done once that work all winter:
- Stands tilted 3–5° forward — rain and meltwater run out through the entrance instead of pooling on the bottom board;
- Hives 20–40 cm off the ground — not "for mice", but against the damp ground layer and spring flooding;
- A windbreak to the north-west — a wall, a dense fence or even a line of trees does more than one more layer of wrap.
And one last thing — not warmth but sun: entrances facing south/south-east give the bees the warm midday hours for early cleansing flights and for carrying out dead bees, which keeps the floor clean.
5. Moisture: the quiet killer and how to stop it
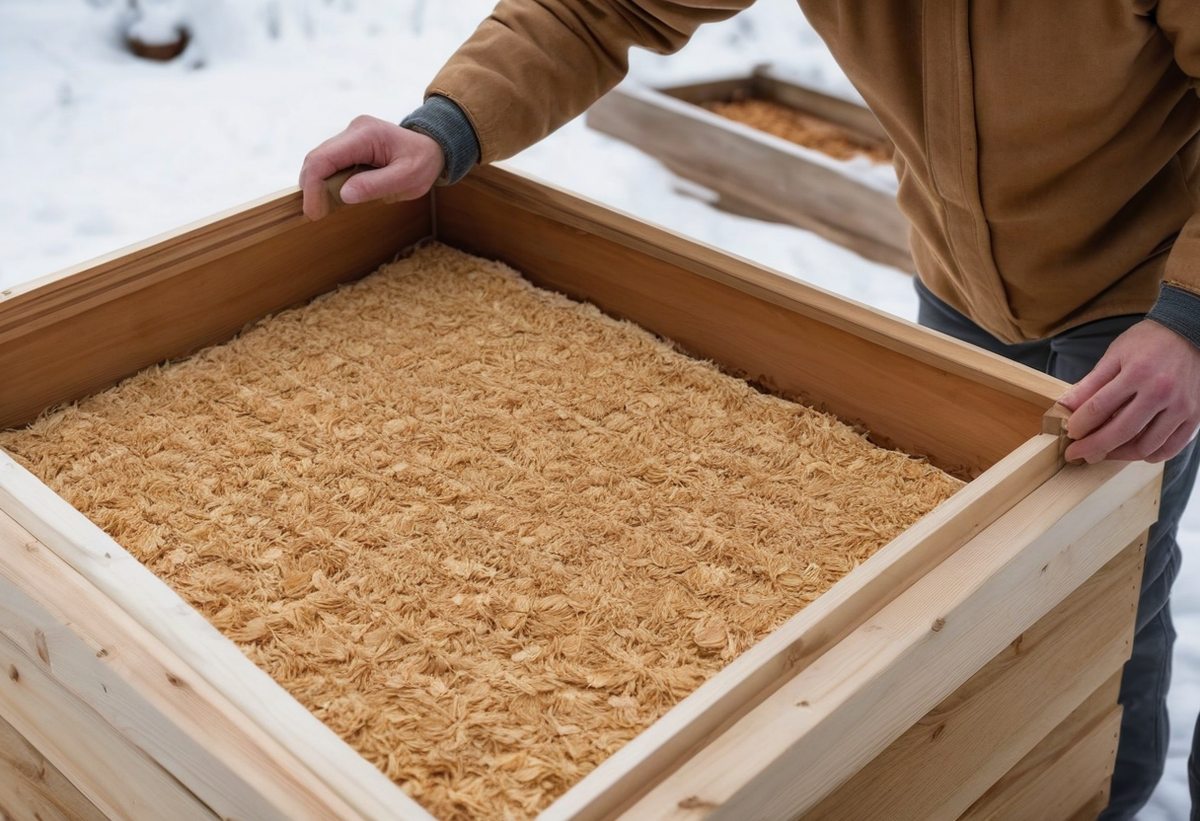
Here is a fact that upends many beginners' beekeeping: bees die from moisture more often than from cold. A wintering colony with millions of breaths releases litres of water vapour into the hive. The vapour rises, meets the cold cover, condenses and starts dripping onto the cluster. Wet bees lose their insulating capacity, cold reaches their bodies, and the colony either sickens (nosema) or literally falls apart in cold that dry bees would shrug off.
Three solutions that work together
- Upper ventilation. Vapour must exit upward. A small opening (1–2 cm) at the top of the hive — above the inner cover or in the cover itself — lets humid air out, and the cluster's own heat creates just enough natural "chimney" for a slow flow. This opening does not chill the hive — wind does, and that is a different thing.
- Hygroscopic cushion. A cushion of wood shavings, straw, peat or cotton above the top bars absorbs the remaining moisture before it reaches the cold cover. Change it once on a warm day — if it is heavy and wet, it has done its job.
- Tilt and a lower drainage path. An entrance kept clear of dead bees plus a forward tilt carries condensate and rainwater out instead of pooling it on the bottom board. A wet floor is a factory for mould and nosema.
The chimney balance: little, but exact
The two moisture mistakes are opposite: a hermetically sealed hive (vapour has no exit and returns as rain) and a hive ventilated like a barn (cold air strips the heat and moisture rains down the walls). The goal is a light, constant, one-way flow: air enters through the bottom entrance in minimal volume, passes the cluster, picks up moisture and exits through the top opening. That is why the openings are small — 1–2 cm is plenty for the entire exchange.
And if you want to see the problem live: on a day after hard frost lift the cover of one hive — if the underside of the inner cover is wet or drips, your bees are wintering in a disaster zone. Cushion + top opening solve the problem by next winter.
6. Pest protection: mice, woodlice, birds and thieves
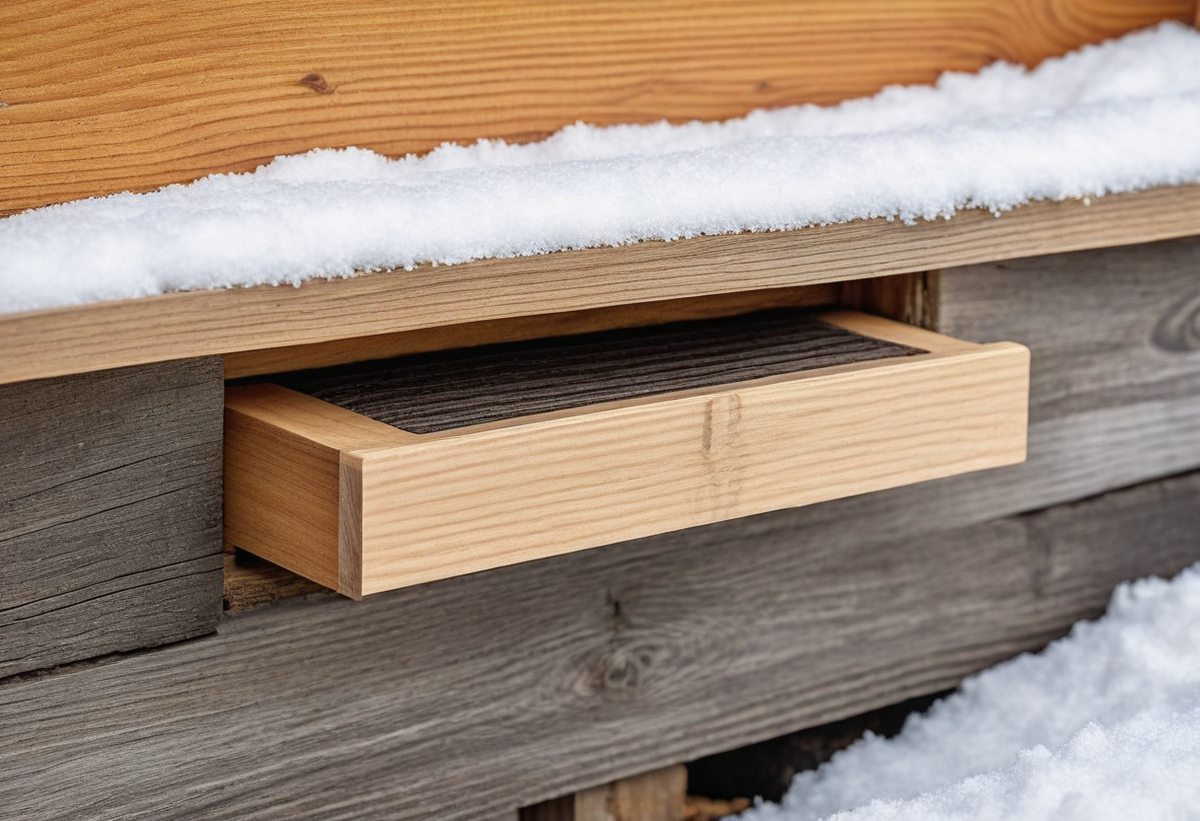
Mice: the tenants from hell
A mouse looks for warm, dry and with food — the wintering hive is all three. A mouse settled in during October (young mice take their first walks exactly then) lives there all winter: chews combs, builds a nest of wax and dead bees, urinates and floods the colony with a smell bees read as a constant invasion. The result is classic: a prematurely scattered, exhausted colony or a silently abandoned hive.
The solution is simple and must be in place by the end of October:
- metal mouse guards (grilles with 8–9 mm openings — a bee passes, a mouse does not) or metal reducers with a narrow slot;
- if no metal — a wooden reducer with an 8 mm slot; a mouse may chew through it over the winter, so check periodically;
- mowed grass and clean ground around the hives — tall grass and hay are the bridge from the field to the hive;
- no stores of combs, sugar or honey in cardboard boxes near the apiary — that is a dinner bell for every mouse in the district.
Ready-made guards and reducers in all sizes: metal mouse guards and entrance reducers on Amazon.
Woodlice, wasps and other winter neighbours
The mouse is the star but not the solo act. Woodlice move in under the cover and between boxes in autumn and suck bees all winter — check by lifting the cover on a warm November day and treat the bottom board with contact remedies (no contact with bees or food). Wasps do not winter in the hive, but their queens winter in the surrounding cracks — mowing and cleaning the apiary halves the spring wasp population. Wax moths do not touch a living colony, but they devastate the frame store — stored combs need airy, checked storage, not a sealed shed until March.
Birds and thieves
In winter, birds (starlings, jays, tits) learn that the entrance has dead but tasty bees and start picking there. It is a minimal threat for a strong colony but real for weak ones — some beekeepers fit light netting over the entrances of weak hives (never blocking the entrance!). Human honey theft, for its part, drops sharply when hives are wrapped and visible — banal but true: wraps and good lighting are half the security.
7. The cluster: how a wintering colony works and how to protect it
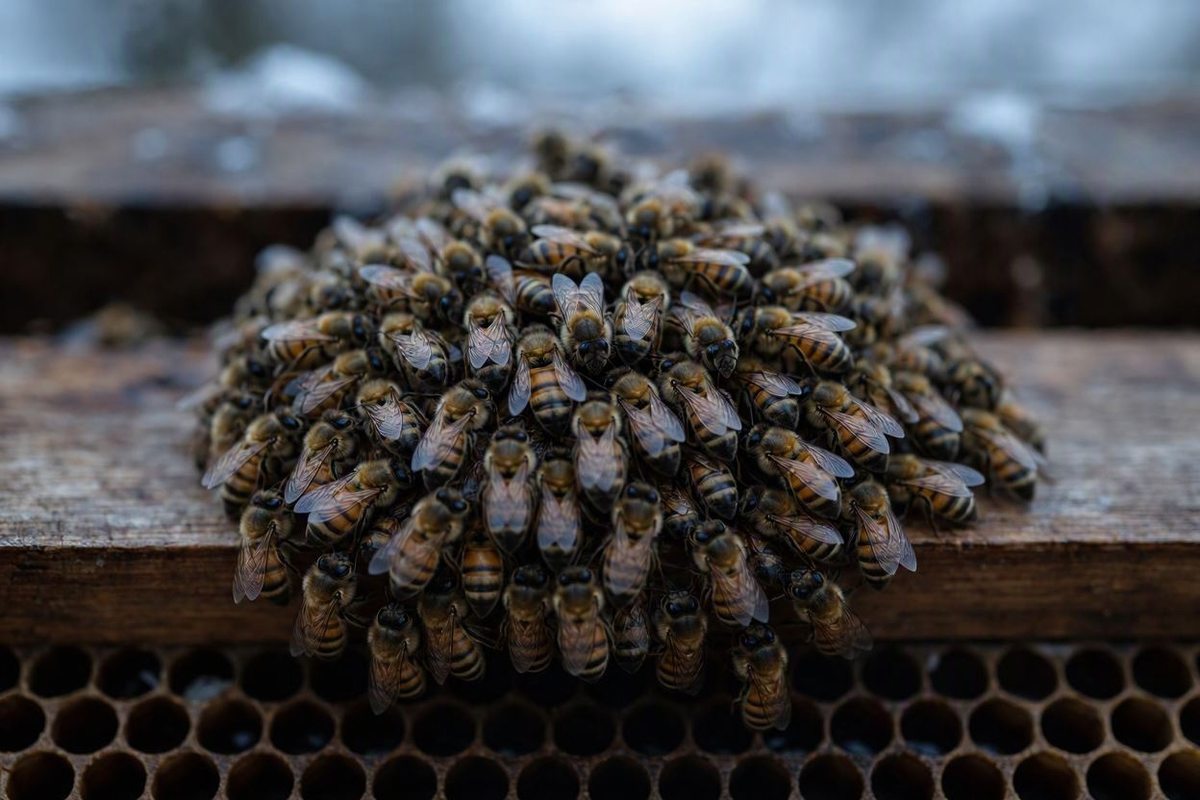
The cluster is not a pile of bees enduring winter. It is a remarkable biological machine: the peripheral bees press together into a living insulating shell, while the inner ones produce heat by burning honey. Bees rotate positions — cold ones move in, warmed ones move out — and the whole ball slowly moves across the combs, feeding on honey as it goes. Your winter job is to not disturb this machine and to give it a route.
Three rules of protecting the cluster
- Do not tear it apart. Every opening below 10–12°C breaks the structure and the colony spends 1–2 days and precious stores gathering again. From November to February the hive is opened only in emergencies and only on a warm day.
- Do not fence it off from food. The cluster moves upward-diagonally along the combs — if there is no honey above it and an empty gap behind it, the route is paved toward nothing. Hence the narrowing rules: full frames to the sides and above, no empty corridors.
- Do not soak it. On a wet cluster the cold acts tenfold (see the moisture section).
The mechanics of movement and why it matters for your math
The cluster moves slowly — a few centimetres a week — and consumes honey from the combs it sits on. This means the "average" store is not equal for all colonies: a strong colony with a large cluster reaches distant honey faster, while a small cluster moves slowly and gets stranded more easily. Weak colonies want a more compact nest with honey closer; strong ones want a larger top store.
One last thing: the cluster raises brood in February. The temperature in the brood zone rises to 34–35°C, consumption jumps, and the colony becomes sensitive to every stress (cold, moisture, food interruption) exactly when it is already laying down its future. The February fondant check is not a routine — it is the decisive touch of the whole winter.
8. Winter inspections: monitoring colonies without opening them
Winter monitoring is the art of external observation. Four tools, in order of importance:
- Weight (the tilt test). Grab the rear edge of the hive and lift gently: solid and heavy — fine; lifts easily — stores are critically low. The test takes five seconds per hive and is the most reliable winter indicator.
- Sound. A gentle tap on the wall: a calm colony answers with an even, low hum that fades in seconds. A silent hive is either dead or on the edge — in both cases check on the first warm day. Experienced beekeepers also use a stethoscope or a phone app to listen through the entrance.
- Entrance and snow. Pollen carried in on warm days, cleaned-out dead bees in front of the entrance, yellow faecal spots on the cover (meaning dysentery — usually from fermented food or moisture) — all of this reads from the outside. A long total absence of any signs on a sunny day is also a signal.
- Thermometers and data. Today's technology allows contactless tracking: a temperature sensor under a frame (shows whether the cluster is active), scales under the hive (food consumption in grams) or even a microphone. For serious beekeepers this is the winter revolution — see the next section.
The rhythm: walk past the apiary once every 2–3 weeks in December–January and weekly in February–March. Not more often: every visit is also a temptation to fiddle, and a winter hive wins by being left in peace.
9. Technology in winter preparation: the diary and location analysis
Winter is also the best season to turn your beekeeping from memory into system. Two tools we use and recommend without hedging:
The beekeeping diary. Record for every colony: strength at narrowing (frames), real stores (kg), date of the final treatment, the nest arrangement (which frame went where), dates and amounts of fondant. In spring compare: which colonies came out strong and what their winter records share. After 2–3 years this data is worth more than any book — it was written by your own apiary. The free Beekeeping Diary app has ready-made fields for exactly these winter records — from inspection to fondant control — plus AI analysis of every hive's history; for beginners we describe the approach in our AI hive analysis article.
Beehive Analyzer. Winter is the time to plan next spring's new apiary sites. The free Beehive Analyzer analyzes any location within a 0.5–5 km radius: honey and pollen flow potential across 101 nectar and pollen plants, verified vegetation from GeoPl@ntNet, pest maps from GBIF and iNaturalist, climate data and an agro-climatic GDD progress tracker. The site decides half the winter: a windy, damp slope or a cold pocket can cost more colonies than a skipped treatment — and an apiary on a sunny, sheltered spot with early spring forage enters winter with an advantage before you have even bought the hives. How exactly to use it — in our Beehive Analyzer user guide.
10. Ten honest winterizing mistakes
This list is compiled from our own experience and thousands of stories in beekeeping groups. If you recognize yourself in a point — it is the free advice of this guide:
- Wintering in "the big volume" — a 5-frame colony in a double box with 18 frames. Classic number one.
- Late syrup feeding — after mid-October the syrup ferments and brings nosema instead of stores.
- Skipping the final varroa treatment — the colony quietly "leaks" between December and February.
- Food on one side of the cluster only — positional starvation does not forgive.
- Hermetically sealed ventilation — condensate drips onto the cluster and the colony gets dysentery.
- Insulating everything except the cover — where insulation matters most, it is often missing.
- A mouse guard fitted in December — when the mouse has already been inside for six weeks.
- Opening "just to look" in January — one courteous peek costs 1–2 kg of honey and dozens of young bees.
- No winter monitoring at all — February starvation does not forgive the colonies nobody weighed.
- Nothing written down — spring comes, the answers to "why exactly that one died" are nowhere, and the mistakes repeat.
Summary: the winterizing plan on one page
- ✅ Narrowing — as many frames as the bees cover plus one or two; full honey frames to the sides and above; bee bread next to the nest; division board and filled empty space;
- ✅ Food — 15–18 kg (strong colonies: 20–25); 3:2 syrup until mid-October, then fondant; the February fondant check is mandatory;
- ✅ Temperature — warm cover, cushion, optional wraps; never without ventilation; forward tilt; windbreak;
- ✅ Moisture — top opening 1–2 cm, hygroscopic cushion, clean entrance, dry floor;
- ✅ Pests — mouse guards by the end of October, woodlice check, mowed site, stores kept away from the apiary;
- ✅ Cluster — not opened, not fenced off from food, not soaked; monitored by weight, sound and entrance;
- ✅ Data — every colony recorded in the diary with all its winter parameters.
Frequently asked questions
When should I narrow the brood nest for winter?
In October, after autumn feeding has finished and the final varroa treatment is done, at temperatures above 12–14°C. The colony is reduced to 6–9 frames depending on strength, empty frames come out, and full honey frames are left on both sides and above the cluster. From November onward the hive is not opened, because every opening breaks up the cluster.
How many kilograms of food does a colony need for winter?
15–18 kg for a normal colony (up to 20–25 kg for strong double-box ones). Consumption is about 1–1.5 kg per cold month, with the jump coming in February with the first brood — which is why the March end of stores is the most dangerous moment.
What should I do if my colony runs out of food during winter?
Do not give liquid syrup. Place winter fondant or sugar dough directly above the cluster, on the top bars. Check with the tilt test (gently lifting the rear) every 2–3 weeks.
Should I wrap my hives with insulation?
In moderation — a warm cover and cushion are the most important; wraps help in northern, high and windy locations. Insulation softens temperature swings and prevents condensation, but must not overheat or block ventilation.
Is moisture more dangerous than cold?
Yes — bees tolerate dry cold fine, while cold plus moisture is a lethal combination. The solution: an upper ventilation opening, a hygroscopic cushion of wood shavings and a slight forward tilt so water drains out.
How do I protect my hives from mice?
Metal grilles or reducers with 8–9 mm slots on all entrances by the end of October, mowed grass around the hives, and no stores (honey, sugar, combs) in cardboard boxes near the apiary.
Can I open my hives during winter?
No, except for emergency fondant feeding during a short warm window above 8–10°C. Every full opening tears the cluster and costs precious energy. Winter monitoring is external: weight, sound, entrance and tracks.
Related articles
- Main Beekeeping Activities in October — the monthly plan in which the great winterizing is executed;
- Spring Beehive Feeding Guide — what to do when the winter is over;
- AI Hive Analysis — how diary data turns into decisions;
- Beehive Analyzer — User Guide — site analysis for a new apiary before spring;
- How to Treat Varroa Mites Naturally — why a clean colony winters easier.
Record every colony's winter — and use the data in spring
The free Beekeeping Diary app keeps the strength, stores, treatments and fondant of every colony — and gives you the comparison that next year makes the difference between a beekeeper who learns from data and one who guesses.
🐝 Start Beekeeping Diary FreeAnd before you choose a site for next spring's new apiary:
📍 Open Beehive AnalyzerFree download: "Winter Hive Preparation Checklist"
We have prepared a short printable checklist with all the tasks from this guide — narrowing, stores, insulation, moisture, mouse guards and winter monitoring — with checkboxes for every colony. Just register free in Beekeeping Diary and open it from the resources section. Print it, put it in your beekeeping box and work through it point by point in October — and when February comes, it will remind you of the fondant too.